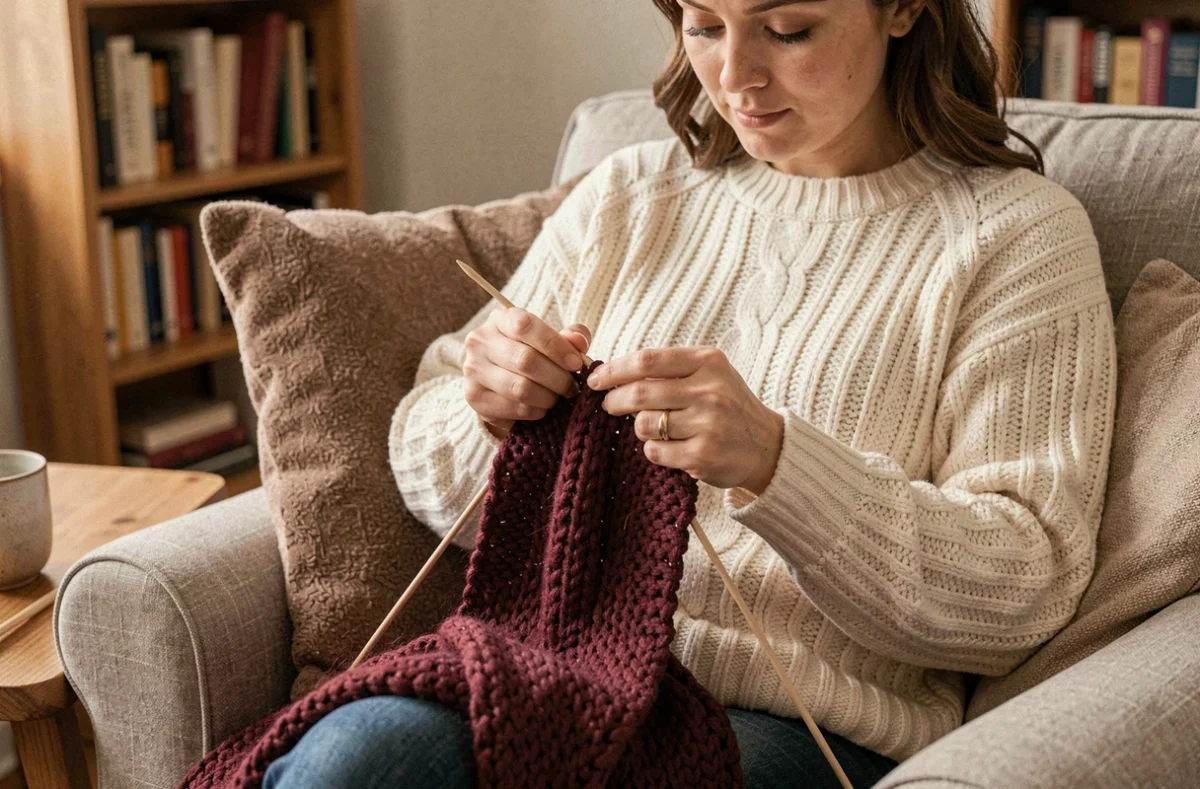
With two straight needles, a few balls of yarn and a single stitch repeated row after row, you can make a wool scarf without a complicated pattern or any sewing. The whole project comes down to three factors: yarn weight, needle size and stitch pattern. The combination you choose affects how long the scarf takes to make, how it looks and how the knitted fabric behaves.
Yarn weight and needles: what each combination changes in practice
Almost all competing guides recommend size 5 or 6 needles for beginners. This advice strikes a balance between knitting speed and stitch visibility. Finer yarn makes the project take longer without offering a noticeable benefit for a first piece, while very thick yarn (size 8 needles and up) creates an airy fabric that can feel too loose around the neck.
| Yarn weight (recommended needles) | Width for 30 stitches | Estimated time for 1.60 m | How it wears |
|---|---|---|---|
| Fine (size 3-4) | Narrow, dense fabric | Long (several dozen hours) | Light scarf, fluid drape |
| Medium (size 5-6) | Standard width, clearly defined stitches | Moderate (around ten hours) | Good coverage, versatile |
| Thick (size 7-8) | Wide, bulky fabric | Quick (a few evenings) | Substantial, warm scarf |
The table shows a simple trade-off: the thicker the yarn, the faster the project progresses, but the bulkier the scarf becomes when folded. For a first attempt, medium-weight yarn (size 5-6 needles) offers the best balance between quick progress and a result you can wear every day.
Before casting on, a detailed guide to knitting a wool scarf can walk you through each basic step if you’ve never held knitting needles before.
Garter stitch, ribbing or seed stitch: differences in difficulty and how the fabric holds its shape
Your choice of stitch pattern determines two things: how complex the repeated movements are and how the scarf’s edges behave. Not all stitches perform equally well on this second point, which is often a source of frustration for beginners.
Garter stitch: one simple movement, no curling
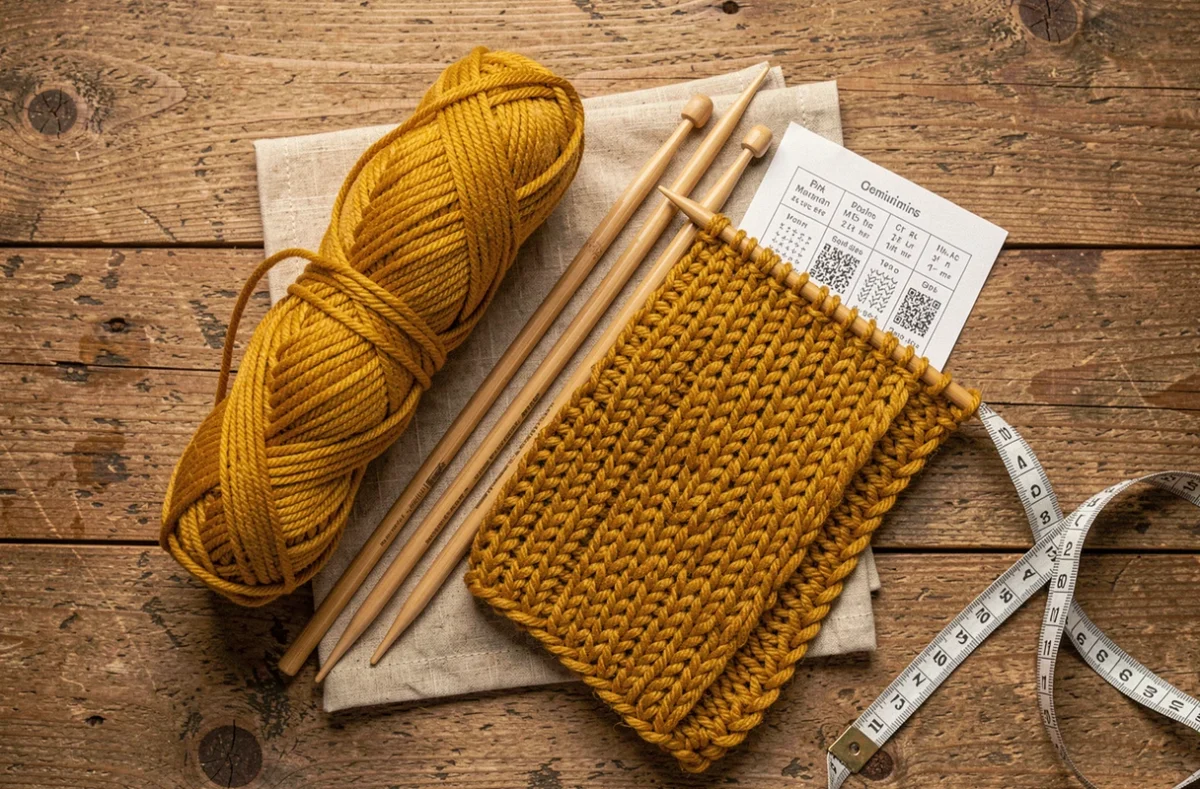
Garter stitch uses only knit stitches, repeated on every row. The fabric looks the same on both sides (it’s reversible) and doesn’t curl in on itself. That’s why almost every tutorial recommends it for a first project.
Its drawback: the look is simple, with raised horizontal ridges. Some knitters find the result monotonous after several dozen rows.
1×1 or 2×2 ribbing: stretch and vertical structure
Ribbing alternates knit and purl stitches on the same row. The resulting fabric is stretchy, so the scarf sits close to the neck without slipping. The extra challenge is learning the purl stitch, a movement that takes a few rows of practice to feel natural.
Seed stitch: texture and attention to detail
Seed stitch alternates one knit stitch and one purl stitch, then reverses the order on the next row. The result is a textured fabric with small raised bumps that feel pleasant to the touch. Seed stitch requires you to check every stitch to maintain the pattern, making it slightly more demanding than ribbing.
Stockinette stitch (knit on the right side, purl on the wrong side) is deliberately left out of this selection. Stockinette fabric curls at the edges because of the fabric’s uneven tension. For a scarf without an added border, this creates a practical problem that the three options above avoid.
Calculating stitches and wool scarf length: the swatch method
Guessing how many stitches to cast on leads to unpredictable results. The finished width depends on your personal tension—that is, how tightly you wrap the yarn around the needle. Two people using the same yarn and needles can end up with different widths.
A reliable method is to knit a small test swatch:
- Cast on about 20 stitches with your yarn and needles, then knit about 15 rows in your chosen stitch pattern
- Measure the width in centimeters, then divide the number of stitches by that width to find your stitches per centimeter
- Multiply this ratio by your desired width (around 20 centimeters makes a standard scarf) to get the exact number of stitches to cast on
The swatch takes ten minutes and saves you from having to unravel your work after several hours. It’s a small investment that helps keep the whole project on track.
For the length, aim for about 1.60 meters if you plan to wrap the scarf once around your neck. Knit row after row until you reach that measurement, then bind off all the stitches.
Caring for a hand-knitted scarf: what the yarn label tells you (and what it leaves out)
Once the scarf is finished, you’ll need to think about care from the very first wear. In France, the yarn label must state the fiber content. Care instructions (washing temperature, drying) are often included, but French regulations do not require them to appear on the label.
A wool-acrylic blend doesn’t respond to washing in the same way as 100% merino yarn. Check the exact fiber content before choosing a cleaning method rather than relying on the generic word “wool” on the packaging.
- Air the scarf between wears to reduce how often it needs washing and help preserve the fibers
- Spot-clean stains (with lukewarm water and mild soap) instead of soaking the whole piece
- Drying the scarf flat prevents it from stretching under its own weight, a real risk when knitted fabric is wet
A damp scarf hung on a hanger or clothesline can stretch by several centimeters and become narrower. Lay it flat on a towel, reshape it by hand and leave it to dry away from direct heat.
Recycled or secondhand yarn can help reduce the project’s cost, but secondhand balls don’t always have a fiber-content label. If that information is missing, wash a small swatch first before committing to a full project.